Showing posts with label Crafts. Show all posts

Saturday, January 4, 2025

QR codes for Storage Boxes

So Rossy HATES holiday season because that means endless trips to the storage unit to bring up the boxes, and he always brings up the "wrong box" hahahah  SO this year - I found a solution!!!!
 

Supplies
Laptop / printer
Tape

Step 1: Create a Google Sheet to Track Box Contents
First, you need a place where you can store and organize the information about the contents of your storage boxes. The easiest way to do this is by using Google Sheets.

Instructions:

  1. Open Google Sheets and create a new sheet.
  2. In the sheet, create columns for each piece of information you want to track about your boxes. For example:
    • Box ID (a unique identifier for each box)
    • Contents (a description of what's inside the box)
    • Location (where the box is stored, e.g., shelf or room)
    • Date Packed
  3. Fill in the details of each box in a row in your Google Sheet.

Step 2: Generate a Unique URL for Each Box (Linking to Your Google Sheet)
Next, you need a way to link each storage box to its information in Google Sheets. You can do this by creating a unique URL for each box that links directly to its details in the Google Sheet.

Instructions:

  1. For Each Box: In your Google Sheet, create a unique identifier for each box (for example, Box #1, Box #2, etc.).

  2. If you want a specific box to be highlighted when scanning a QR code, you can create a direct link to a specific row or cell in Google Sheets. This can be done by modifying the URL to reference a specific row or column.

    The URL to a Google Sheet looks like this: https://docs.google.com/spreadsheets/d/[YOUR_SHEET_ID]/edit#gid=0&range=A2

    Replace A2 with the specific row number where the box's contents are listed.

Step 3: Generate QR Codes for Each Box

Once you have the Google Sheet set up and URLs created for each box’s details, you can generate a QR code for each box. The QR code will link to the URL you generated in the previous step.

Instructions:

  1. Copy the URL of the Google Sheet (or specific row for the box).
  2. Go to a free QR code generator:
  3. Paste the URL of your Google Sheet (or specific row) into the generator and click “Generate”.
  4. Download the generated QR code.
  5. Label your storage boxes with the QR codes. You can print out the QR codes and attach them to the boxes.

Step 4: Scan the QR Code to View Box Contents

Now, when you scan the QR code on any storage box using a smartphone or QR code scanner, it will take you directly to the Google Sheet (or the specific row for that box) where the details of the box’s contents are stored.

Thursday, October 1, 2015

Fall leaf tree

 
Supplies
Paper
Finger paint
Q-Tips
old TP tube
B colored in the tree first... 

 Then he "painted" on the leaves :)

 He actually liked it so much that he asked to make another one -- so YAY!!  Toddler busy and dinner got made :)

Tuesday, September 30, 2014

Apple Art!

B and I decided to get crafty tonight!!  He had a blast making this cutie apple tree :)
 
Supplies:
Finger Paint
Cardstock
Paper plate
Cotton swab


Adding the apples...


Fall Leaf Art

It's the BEST time of the year!!!  Brody and I collected some leaves tonight, and then we decided to make a little art :)
 
Supplies:
Leaves
Cardstock
Glue

Monday, April 14, 2014

Science Experiment


Supplies
Baking soda (enough to fill the bottom of 9x13 pan)
Vinegar
Food Coloring
Eye dropper


B couldn't quite figure out how to get the liquid out of the dropper, so I had to help him....BUT he loved the fizzing!!!  He kept touching it and making very excited noises :)

After we were done with the dropper - I let him play around with the baking soda...he thought it was moon dough :)

Saturday, April 12, 2014

Fine Motor Skills

Working on B's fine motor skills...and his appetite :)

Friday, April 11, 2014

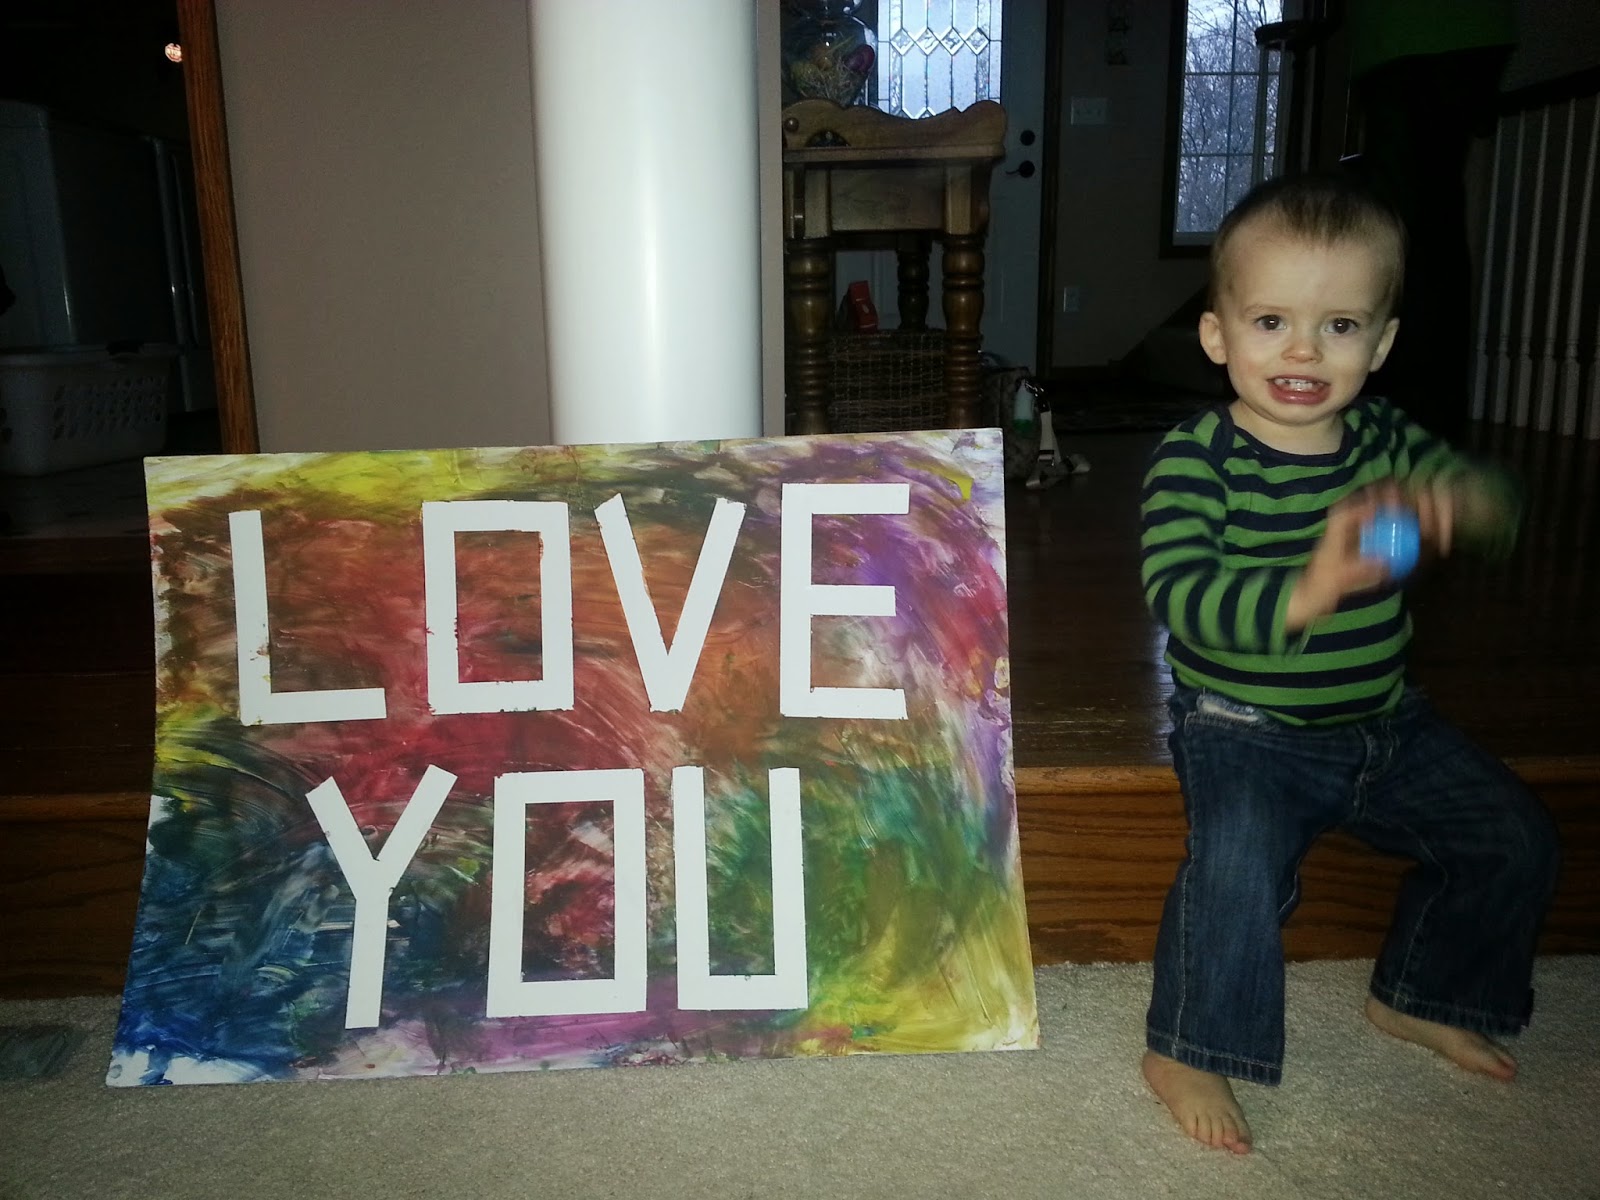
Finger Painting Art

So cute! So fun!  So easy!  And now I have art work for the scrapbooking room!!!

Supplies
Cardboard / canvas
Painters Tape
Finger Paint

Friday, April 4, 2014

Rubber Band Snapping Art

So easy!  I'm always up for toddler activities, and this one was super easy / cheap - and B loved it!
 
Supplies
Rubberbands
Finger paint
paper
 
Just put rubber bands around cookie sheet -- slide the paper underneath -- then put paint right on the rubber bands, and start snapping!


Wednesday, April 2, 2014

Sewing for Toddlers

Ahhh toddlers!  I'm constantly trying to come up with ways to educate / entertain B!  This idea was super easy...he couldn't really do it by himself, but he was really proud of himself when mom helped!

Supplies:
Paper
Hole punch
String
Pipe cleaner

Friday, December 27, 2013

B's alphabet book

Brody LOVES to read, so I just had to make him his own alphabet book for his 1st Birthday!  It was so much fun to make - and I'm so excited to watch him learn his A-B-Cs!


Click here to create your own Shutterfly photo book.


Here is what I associated with each letter, but there are so many options!  I just looked through all my pictures and put them into letter folders - and then went back and picked out the ones I liked the best!  I could have made like 5 of these books...haha!!!

A: Apple
B: Boating
C: Camping
D: Daddy
E: Easter Bunny
F: Friends
G: Grandparents
H: Hiking
I: Ice Fishing
J: Jack O Lantern
K: Kisses
L: Lake
M: Mommy
N: Naked
O: Outdoors
P: Pool
Q: Quilt
R: Remote
S: Snowman
T: TubTub
U: Uncle Sam
V: Valentine's Day
W: Wagon
X: Xmas
Y: Yummy
Z: Zoo

Monday, December 23, 2013

Laundry Room Art!

Who says you can't have pictures in your laundry room!!  How cutie is this??  :)

Supplies
Pant hangers
Laundry photo shoot of baby (or cat)
Mod podge
8x10 canvas (get at Michaels)

I had a little photo shoot with B and his laundry - and then I edited the photos to be in black and white (cause eventually I want to paint the laundry room...orange...if I can convince Ross!) Anyways, then I just mod podged them to the canvas and hung them up with pant hangers!  Super cutie!!

Saturday, December 21, 2013

Party Hats

Supplies:
Paper
Pom Pom

Make a circle out of your paper - cut it in half  (mine was about 7 inches long).  Then put the ends together and make a cone.  Tape / staple it shut -- hot glue cute pom pom on top and cut out the year and tape that on!


Supplies:
Newspaper

Fold a single newspaper sheet in half.  Fold in each corner on top to meet in the middle.  Fold up the bottom edge twice of the side facing you, then flip hat over and repeat on other side.

Friday, December 20, 2013

Tissue Pom Pom


SUPPLIES:
8 sheets of tissue (cut square)
Scissors
wire

Line up the 8 sheets of tissue paper - and cut into square.  Then start folding all of the tissue layers over like a concertina, approximately 1″ wide, and continue until the whole length is pleated.  (As you go along be quite firm so you have good crisp fold.)

When you reach the end, make sure that you use something as a paperweight so the concertina doesn't come undone such as a pair of scissors.

Add a strip of wire around the center of the tissue.  You will need extra wire if you intend to hang it from a high ceiling or wanting it suspended to add depth.

Cut both ends of the tissue.  You can either cut a curve for a soft look or at an angle for a more spike effect.  As you will be cutting so many layers of tissue, it may be a good idea to do this in stages, by cutting in to 3-4 layers at a time

Gently start pulling the layers of tissue apart.  Take your time as it is easy to rush this part, and you will only end up with holes and tears in the tissue.  Keep going until you have pulled all of the layers out - and you are DONE!  Super cutie!

Friday, November 15, 2013

Spray Painting Light Fixtures

I HATE GOLD

Of course, all of our bathrooms have gold light fixtures....um no thank you!  Instead of spending tons of $$ replacing all these bad boys - I SPRAY PAINTED!!!  Yes, that's right...You can spray paint light fixtures and they look amazing!!!!
BEFORE
AFTER

BEFORE
AFTER

Supplies:
Primer
Spray paint
Sander (is that what they are called?!)

Take your light fixture down - clean it - sand it - clean it again - sand it again...repeat this until you think it's good and sanded!  This helps hold the paint in :)


Then spray the fixture with primer - this is what I used!  (you can get this on Amazon, Michaels, or Home Depot)

After that dries (we let it sit overnight) - then you spray paint the color.  Again, I got these on Amazon but I saw the same ones at Michaels and Home Depot.  Let them dry overnight - and BAM!  You have new light fixture for the total cost of $10 :)

Sunday, June 16, 2013

Father's Day Poem

It was Ross's first Father's Day; so we had to make a little craft to celebrate the fun day!!  Figured we would make a personal card for him to keep :)
 
 
Supplies:
Washable Paint
Daddy's shoe
Baby's foot

Cardstock
Poem


Brody even helped out :)